Pages

Sunday, December 9, 2018

Oven-roasted Salmon


A couple years ago some not-so-favorable lab test results sent us looking for ways to fight cholesterol.  Enter, Salmon.  A gold mine of Omega-3s.

I had encountered fishy Salmon in a restaurant enough times to decide it wasn't for me until I decided to give it a try again and see if my taste buds had changed. They had. 

I find three 4 ounce portions of Atlantic Salmon, vacuum-sealed, in the freezer department of my local 'Food-n-Stuff' (yes, that's a Parks and Rec reference!) I love fresh fish, but in this busy life, sometimes I need something to be on hand without having to source it out just before dinner.

Cast Iron Skillet Roasted Salmon with smashed Yukon Golds
When we want a fast, healthy weeknight meal, I get a cast iron skillet good and hot in the oven - 400° to be exact - and put all three heavily-seasoned, frozen filets drizzled with olive oil, right down onto the searing hot pan. Back into the oven they go for 15 minutes, while I prepare a salad. When the timer goes off, add a pat of butter on top and switch the oven to broil for another minute! Our brand of fast food!

Oven-Roasted Salmon Recipe

3 - 4.5 oz pieces of Salmon
Seasoning (We love Cajun Seasoning)
Extra Virgin Olive Oil
Kosher Salt
Fresh cracked black pepper
3 pats of real, unsalted butter

Pre-heat cast iron skillet in oven to 400° . Drizzle Salmon with oil and season liberally. Drizzle oil into the skillet, add the frozen seasoned fish, then return the pan to the oven for 15 - 18 minutes. During the last minute, turn the oven to high broil. Add a pat of butter on each piece, and serve with a salad or something green!

Monday, July 7, 2014

Fried Green Tomatoes


 A Southern Delicacy

 
  Crop of Green Tomatoes Starting to Ripen
If you've never tried making fried green tomatoes before, you really should give it a whirl. They're quite simple to whip up and even if you don't like green food, you never know, you just might like these! Even my ultra picky husband, who doesn't like tomatoes, will eat them!


Perfect Slices

If you don't have a mandolin, it's time to invest. I have a proper French model of one but I have to tell you, my favorite is the Pampered Chef version I bought over 10 years ago. It has served me well, and makes me look like a pro every time. (I don't get any kickbacks for saying that - just a loyal customer here!)

Sliced on the  Mandolin


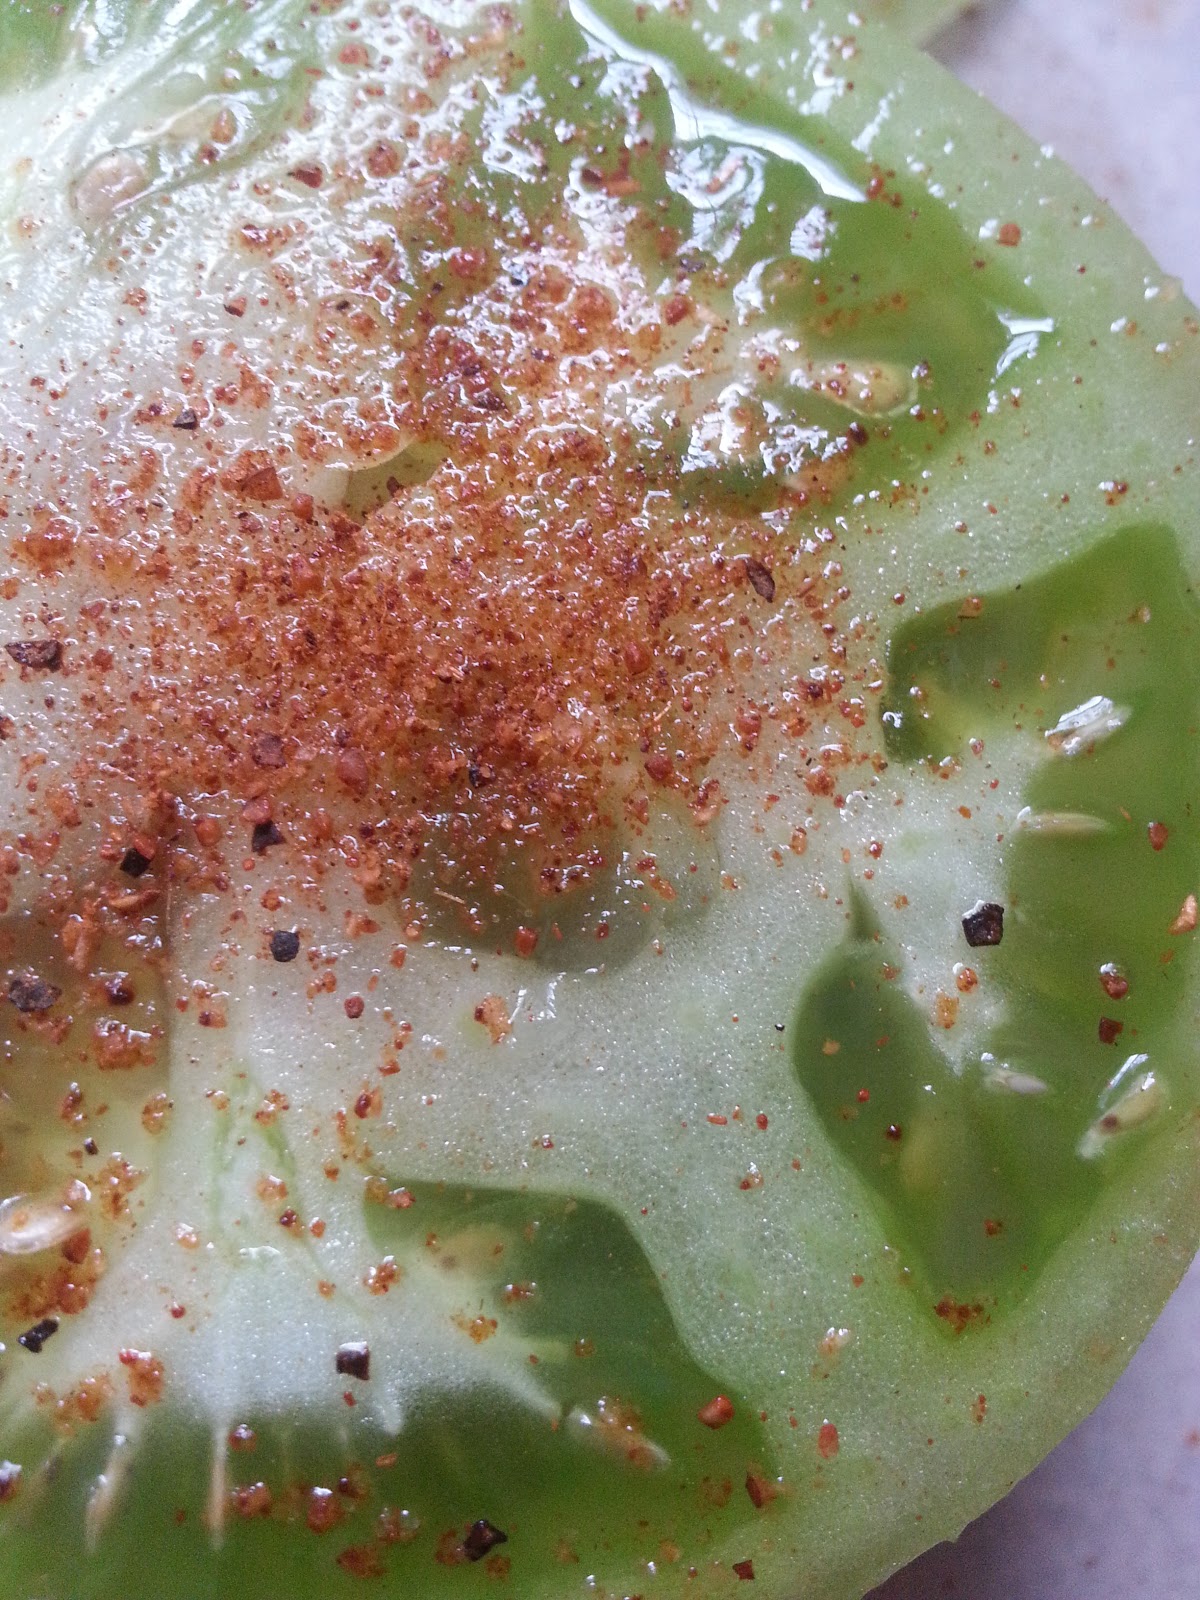
Season Before Dredging

I always like to season my food before breading, so a tomato is no different. This way, the flavor tends to stay with the food, rather than falling off into the oil with all the drippings. I used my favorite Cajun seasoning for these spicy little numbers.


Season the Fruit Before Dredging
Standard Breading Procedure
Set up three containers. One has flour, one a beaten egg, and one with bread crumbs. I like Panko bread crumbs because of their crunchy texture. If you haven't tried them, you're in for a real treat. Dredge each slice of the seasoned tomatoes into the flour, then the egg, and finally the bread crumbs.

Standard Breading Procedure


Fry to a Golden Brown

Stay with the pan, because this part of the process will go fairly quickly! Resist the urge to move the tomatoes around. Instead, allow them to sit and get good and brown, then turn to the other side. You may want to reduce the flame / heat if you notice they are burning rather than browning. 


Fry Until Golden Brown

Remoulade Sauce

Once you've fried each one to a golden brown, eat them immediately with your favorite dipping sauce. This time I made a spicy remoulade sauce to go with them but I like Frank's Chili Sauce with this, too. Invite a couple friends to join in to the process with you. I did, and it made for lasting memories.


Coffee Connoisseurs


Coffee At It's Finest

Shot of espresso topped with steamed milk.

A few years ago we visited friends in the country, a leisurely 20 minute drive outside of town. As good southern hosts will always do, they offered a drink before we had wiped our feet on the mat leading into the back door of their quaint farmhouse. "Special coffee?" my friend asked. Absolutely. That offer rocked my world. My friend had an Italian machine:  fully automatic, bean to cup, purveyor of delicious espresso. Revolutionary. Life-altering. Liquid awesome. 


Coffee Will Never Be The Same

Until then, we had frequented Five-bucks for strong coffee. As avid campers, we were no strangers to the percolator or french press. We were daily coffee drinkers who could not get our minds off that Italian machine. After a little research, we were disappointed to discover how expensive they were! We looked forward to each and every visit to the country - for we knew there'd be waiting for us a cute little cup topped with foam and caramel.

Thrill of a Bargain Meets Our Love for Coffee

One day, my husband and I waited in line outside an estate sale. What would we find? The rumor was the kitchen was packed - right up my alley! I rounded the corner into the kitchen and gasped as if to suck all the air right out of the room! There it sat, motionless, on the pantry shelf next to other small kitchen appliances: the Italian machine of my dreams, much like that owned by my friend in the country. I could not motion for my husband fast enough, to divert his attention which had been drawn immediately to another room in the house. You would think we had found the missing crown jewels. Needless to say, it came home with is that day. It has not sat motionless a day since.


Monday, June 4, 2012

Sunday One-Pot Dinner Chicken Perlo

Sunday Dinner
While still in my robe, I stepped outside to check the weather and noticed my kitchen garden was overflowing. It was that bounty of fresh herbs and the cloudy start to the day that was all the inspiration I needed.  I raced back inside for my snips then harvested a few plutches of fresh oregano and thyme to throw in the pot. MMMMM! There's nothing like the smell of a fresh pot of Chicken Perlo on the stove.

Y'all Say Pilau, We Say Perlo
A bit of a Southern specialty, Perlo is a South Carolinian rice dish. The  dialect of the Low Country region of South Carolina accounts for the pronunciation of this dish as perlo, but other parts of the United States call it rice pilau.

I make it in my enamel covered cast iron dutch oven. Oh, I suspect any heavy thick-bottomed pot will do, but I've seen people who have dedicated heavy duty heirloom cast iron pots ONLY reserved for their special perlo.  Nowadays I have diverted from many of the traditions of southern cooking. Apart from the pork sausage in the dish, there is no added pork fat in my perlo, although if the mood strikes I might be inclined to render some slab bacon before browning the chicken. I tend to be a bit frugal, so I use whatever I have on hand. I've discovered over time that this dish is forgiving of whatever adaptations your taste buds might desire. Best of all, it's an inexpensive way to feed an army, or to have a ton of leftovers for Monday night.


Chicken Perlo

1/2 cup olive oil

1 large chopped onion
4 -6 smoked link sausages (I like Hot Italians personally :-)
12 pieces of chicken such as legs and thighs
1 teaspoon cayenne
1 teaspoon fresh ground black pepper
3 bay leaves 

2 cloves fresh garlic, minced
Plutch of Thyme

Plutch of Oregano
8 cups water
3 cups raw long grain white rice


Directions

Slice the sausage into bite-sized pieces. In a heavy cast iron pot, add olive oil and seasonings and brown the chicken and sausage. The trick  to browing is not to over-crowd the pot and don't move the chicken around a whole lot. Once the meat is almost browned to perfection, add the onion, and bay leaves. Cook until the onions get a little color on them and start to go clear. Again - don't move them around too much. Add the water, bring to a boil, cover, and cook at a low boil for 25 minutes.  Add the rice to the pot and bring to a boil. Boil for 10 minutes, then reduce the heat, cover the pot, and simmer for 10 more minutes, or until the rice is tender.  The bay leaves and herbs usually rise to the top, and can be removed before serving.


Saturday, May 19, 2012

Baking Bread at Home


Baking bread at home is not as difficult as it seems. Keep the basic ingredients on hand and you will be prepared to turn out a couple loaves on a whim.

These are the basic ingredients for many recipes:
  • Yeast (I buy it in the jar and then measure out as I go)
  • Bread Flour, Wheat Flour, and All-Purpose Flour
  • Butter (the real, sweet cream UNSALTED kind, y'all!)
  • 3 hours of precious time!!!
You can make bread totally by hand, using a food processor, a bread machine, or a  stand mixer. Now, I've used all four methods at one time or another. Of course, purists will say the joy of making bread is kneading it by hand, but I am a fan of the stand-mixer.  After all, we are a two mixer family. (Can you believe HE had a stand mixer when we got married??)  Mine is the 6 quart and does all the bread and cheesecake making and his is the 4 quart model, the perfect size for cookie dough and cake batter!  Yes, we have two very clunky appliances out on the counter, but it sure is nice to have the resources!


How to Bloom Yeast
The last time I made dinner rolls and brought them to a dinner party, I was asked "How do you get them to taste so yeasty?"  Part of the secret is blooming. I find that taking the time to bloom the yeast makes all the difference in the final product. 


Make a few "baby rolls" for your special little dinner guests.
Blooming involves allowing the yeast to develop into a foamy mixture. If the recipe calls for 1 cup of water and a packet of yeast, I use a 2 cup glass measuring cup. Dissolve the sugar in the warm water, and add the yeast. It's important to use warm water. I usually make it 110 degrees or so. If you don't have a thermometer, give it the baby bathwater test: make it hotter than a baby's bath but still tolerable to the wrist. Too hot, and it will kill the yeast. Too cold, and it won't bloom. While you are getting all your other ingredients together, allow the foam to double, rising to the top of the 2-cup measure.  I like to make a few rolls smaller than the rest for my little nephew. I can remember feeling so special when my mom made "baby biscuits" and I wanted him to feel special like I did.

Just remember to start with great ingredients, and then bake with someone special in mind. Once you give it a try -- you'll gain more and more confidence every time you bake. There is a great deal of satisfaction in baking bread at home!

Happy baking!

Mary Ellen